

What materials do I need to draw anime characters?
How to draw an anime character? This exciting journey can be rewarding and fulfilling for art enthusiasts and fans of anime alike. Drawing anime characters requires understanding the unique art style, anatomy, and features that define this popular genre. In this article, you will explore essential techniques, tips, and step-by-step guidance that will help you transform your creative vision into a visually stunning anime character.
Understanding Anime Art Style
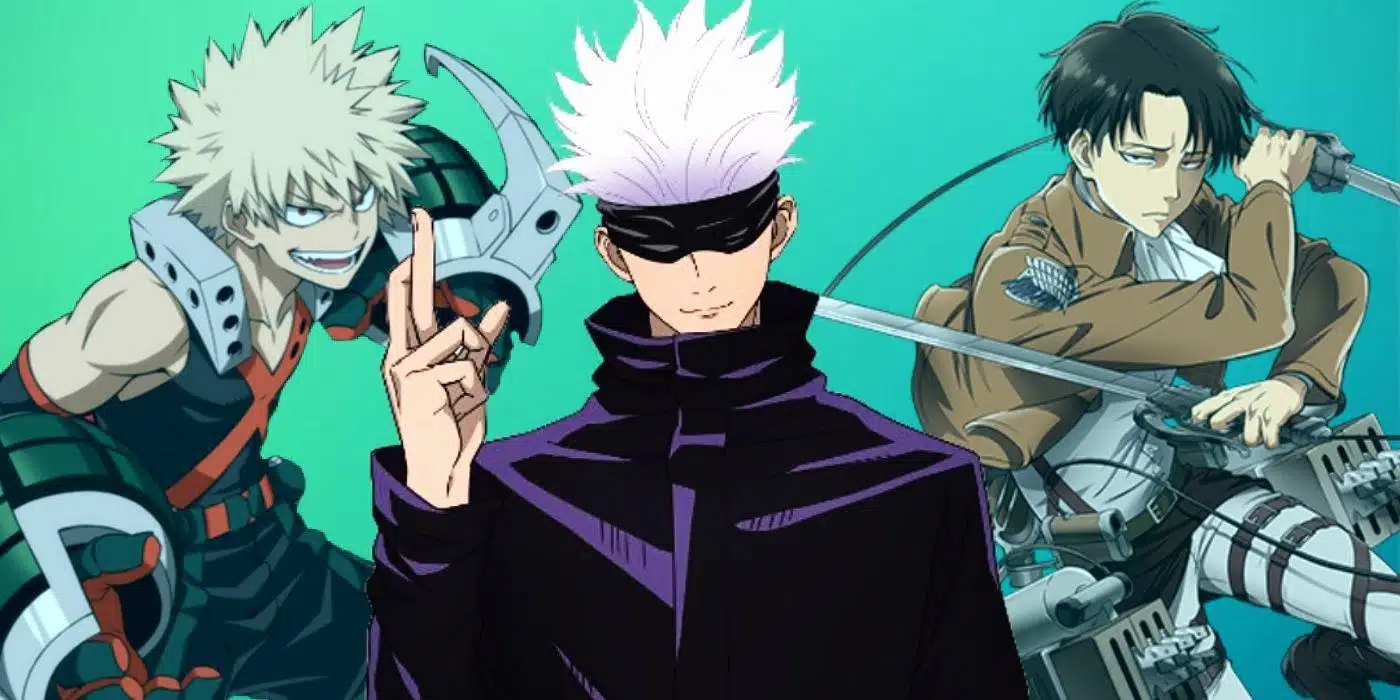
To effectively learn how to draw an anime character, it’s crucial to grasp the distinct elements of anime art style. Anime, a style originating from Japan, is characterized by its exaggerated facial expressions, large, expressive eyes, and stylized hair and outfits.
Key Elements of Anime Style
- Eyes: One of the most defining features of anime characters. They can vary significantly in size, shape, and color. Wide, round eyes often convey innocence or excitement, while thinner, angular eyes may express depth or cunning.
No products found.
- Proportions: Anime characters often have exaggerated proportions. The head may be larger compared to the body, and limbs might be elongated to achieve a dramatic effect.
- Hair: The hair is another focal point in anime designs. Artists often use vibrant colors and unique styles to convey personality, using techniques like layering, spikiness, or volume.
- Clothing: Outfits can reflect contemporary fashion or fantastical elements. Pay attention to folds, shadows, and how fabric behaves in motion.
- Facial Expressions: Convey emotions through facial expressions. A character can exhibit joy, sadness, anger, and surprise through small adjustments in their features.
Understanding these aspects is essential before you embark on the journey of how to draw an anime character.
No products found.
Tools and Materials for Drawing Anime Characters
Before you start the drawing process, having the right tools can make a significant difference in your artwork. Here’s a list of materials you’ll need:
Essential Drawing Tools
- Pencils: Use graphite pencils (preferably H and B grades) for sketching. H pencils provide lighter lines, making erasing easier, while B pencils create darker, bolder outlines.
- Erasers: A kneaded eraser works wonders for subtle corrections, while a standard eraser can help remove pencil marks.
- Paper: Quality drawing paper can enhance the outcome of your sketches. Look for thicker stock papers that support erasing and ink.
- Inking Pens: Fine-liners and brush pens are perfect for inking your designs. Consider various nib sizes for different line thicknesses.
- Coloring Materials: Whether you prefer markers, colored pencils, or digital tools, using quality coloring supplies will enhance the vibrancy of your characters.
Having these tools on hand sets the foundation for successfully learning how to draw an anime character.
Step-by-Step Guide on How to Draw an Anime Character
Now that you have a solid understanding of the anime style and the tools needed, let’s break down the process into easy steps.
Step 1: Basic Shapes and Sketching the Framework
Starting your drawing with basic shapes helps outline your character’s posture and proportions effectively.
- Draw the Head: Begin with an oval or circle for the head. Anime heads are often round, but the shape may vary depending on the character’s personality.
- Outline the Body: Use simple geometric shapes such as rectangles or ovals for the torso and limbs. This step is crucial for maintaining proper proportions and poses.
- Add Guidelines: Lightly sketch horizontal lines for eye placement and vertical lines for symmetry.
Step 2: Defining Facial Features
One of the key aspects of how to draw an anime character is the face.
- Eyes: Sketch the eyes by following the guidelines you created. Remember they should be large and expressive, with highlights to indicate glossiness.
- Nose and Mouth: Anime characters often have minimalistic noses, represented by a small line. The mouth can be tailored to the character’s expression; a simple curve can denote happiness, while a straight line can show neutrality.
- Ears: Position ears between the eyes and the bottom of the chin. They can be stylized, often with exaggerated shapes, depending on the character.
Step 3: Designing the Hair
Hair adds personality to your anime character.
- Outline Shapes: Start with basic shapes that frame the face before adding detailed strands.
- Layering: Break the hair into sections for a more realistic look. Add details like spikes or curls according to the desired style.
- Shading: Consider the light source and add shadows beneath layers to create depth.
Step 4: Drawing the Body and Clothing
Having established the head and face, it’s time to work on the rest of the body.
- Refining the Body: Flesh out the limbs, defining muscle or curve depending on the character type. For a female character, softer lines may be better, while male characters can showcase more angular shapes.
- Clothing Design: Draw the outfit with attention to how the fabric interacts with the body. Use folds and creases to give your clothing a realistic feel.
- Accessories: If your character has any accessories, such as glasses or jewelry, add those details after the main clothing is established.
Step 5: Inking and Coloring
Inking gives your sketch a polished look.
- Inking Lines: Carefully outline your pencil sketch using inking pens. Vary the pressure to create dynamic line thickness.
- Erasing Pencil Marks: After the ink dries, gently erase your initial pencil lines without damaging the ink.
- Adding Color: Using your choice of coloring materials, apply color thoughtfully. Start with base colors and layer shadows and highlights for a 3D effect.
Finalizing Your Anime Character
Once you’re satisfied with your character drawing, it’s time to review your work:
- Evaluate Expressions: Ensure the facial features and expressions convey the desired emotion.
- Assess Proportions: Look for balance in the character’s anatomy and adjust any discrepancies.
- Get Feedback: Share your work with peers or online communities for constructive criticism and tips.
Practicing and Improving Your Skills
As with any skill, practice is key. Continuously refine your techniques using the following methods:
Study Existing Anime Characters
Taking inspiration from your favorite characters helps solidify your understanding. Analyze how different artists approach facial features, proportions, and styles.
Take Online Courses
Platforms like Udemy or Skillshare offer classes specifically focused on how to draw anime characters. These can provide additional insights and education from experienced instructors.
Join Art Communities
Engaging with online art communities, such as DeviantArt or ArtStation, can foster growth. Participate in challenges or critiques and gain valuable insights from fellow artists.
Conclusion
Learning how to draw an anime character is an adventurous journey filled with creativity and expression. With an understanding of anime style, the right tools, and step-by-step guidance, anyone can develop their skills and bring their characters to life. Stay committed to practicing and refining your techniques, and don’t hesitate to seek feedback to enhance your craft. Embrace the process, and best of luck in your anime drawing endeavors!
For further information and resources on anime drawing, explore this helpful link on blank”>ArtStation and enhance your skills through dedicated anime drawing tutorials available on blank”>Udemy.

