How do I start sketching an anime character from scratch?
Drawing anime characters can be an exhilarating and rewarding experience for both beginners and seasoned artists. From the intricate facial features to dynamic poses, learning how to draw an anime character step by step opens the door to expressing creativity in distinct ways. This guide will explore the fundamental techniques, tips, and methods you need to get started with anime character illustrations.
Understanding Anime Proportions and Styles
The Significance of Proportions in Anime
When considering how to draw an anime character step by step, understanding the proportions unique to the anime style is crucial. While traditional human anatomy is based on exact ratios, anime allows for more stylistic flexibility. Here’s a general breakdown of the common proportions used in anime:
| Character Type | Head Size to Body Ratio | Key Features |
|———————|————————-|—————————-|
| Chibi | 1:4 to 1:6 | Exaggerated facial features |
| Standard Anime | 1:6 to 1:8 | Slightly larger heads, expressive eyes |
| Realistic Anime | 1:8 to 1:10 | Closer to realistic proportions |

- Used Book in Good Condition
- George Trombley (Author)
- English (Publication Language)
- 376 Pages - 08/22/2014 (Publication Date) - Learn From Zero (Publisher)

- Ken Fukuyama, Yuki Fukuyama (Author)
- English (Publication Language)
- 246 Pages - 10/11/2022 (Publication Date) - Independently published (Publisher)

- Used Book in Good Condition
- Sumiko Uo (Author)
- English (Publication Language)
- 6 Pages - 01/01/2005 (Publication Date) - BarCharts Publishing Inc. (Publisher)
In anime, the head-to-body ratio can vary significantly based on the character’s design, meaning you’ll need to adapt your proportions accordingly. These proportions greatly influence the character’s expression and overall aesthetic.
Different Anime Styles
Anime encompasses a wide spectrum of styles, from cute and whimsical to dark and action-packed. When learning how to draw an anime character step by step, consider the style you’d like to emulate. Here are a few popular styles:
-
- Shonen: Male-oriented, often includes action-oriented characters with bold lines.
-
- Shojo: Female-oriented, emphasizes emotion with softer lines and features.
-
- Seinen: Designed for adult men, usually more realistic.
-
- Josei: Targeted at adult women, it often focuses on everyday life and romance.
- Used Book in Good Condition
- George Trombley (Author)
- English (Publication Language)
- 376 Pages - 08/22/2014 (Publication Date) - Learn From Zero (Publisher)
- Ken Fukuyama, Yuki Fukuyama (Author)
- English (Publication Language)
- 246 Pages - 10/11/2022 (Publication Date) - Independently published (Publisher)
- Used Book in Good Condition
- Sumiko Uo (Author)
- English (Publication Language)
- 6 Pages - 01/01/2005 (Publication Date) - BarCharts Publishing Inc. (Publisher)
Understanding these distinctions can help you decide on features and expressions that will resonate with your audience.
Essential Tools for Drawing Anime Characters
Drawing Materials
To effectively learn how to draw an anime character step by step, it’s important to have the right tools. Here’s a checklist of essential drawing materials:
-
- Pencils: Start with a range from H (hard) to B (soft) to achieve various line depths.
-
- Erasers: A kneaded eraser is perfect for precision work, while a vinyl eraser can help with broader corrections.
-
- Paper: Use smooth paper for pencil drawings and thicker paper if you plan to ink your work.
-
- Inking Pens: Fine liners and brush pens can add definition and character to your outlines.
Digital Tools
If you prefer digital drawing, consider investing in high-quality software and hardware:
-
- Graphics Tablet: A good tablet, like a Wacom or Huion, will make a significant difference in your drawing experience.
-
- Art Software: Programs like Clip Studio Paint or Adobe Photoshop are favored for character design.
Exploring these materials will enhance your ability to illustrate your unique anime character.
Step-by-Step Guide to Drawing an Anime Character
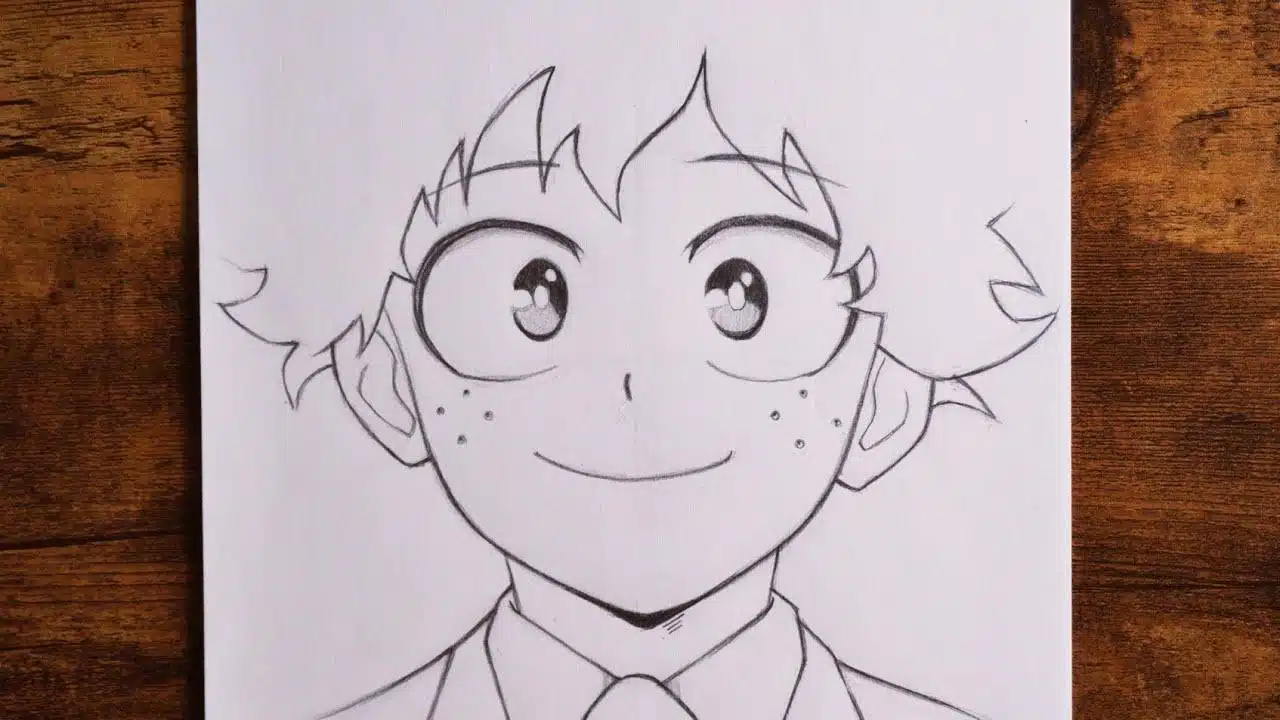
Step 1: Sketching the Basic Outline
Start by drawing a simple skeleton or skeleton figure to establish your character’s pose. This involves:
-
- Drawing the Head: Begin with an oval shape for the head. A softer, rounded top and a slightly tapered chin can create the anime aesthetic.
– Tip: Keep in mind the character’s hairstyle; you might leave extra space for spiky or voluminous hair.
-
- Creating the Body Framework: Use simple shapes such as circles for joints and lines for the body’s framework. The torso can be represented as a rectangle or trapezoid.
-
- Positioning Limbs: Sketch the arms and legs using lines and oval shapes for joints. Make sure to adjust the angles depending on the pose.
Step 2: Defining Features
Now it’s time to add details that will breathe life into your character. This step should include:
-
- Facial Features: Draw guidelines for the facial features, typically largest in the eyes. You might consider placing the eyes about halfway down the head to give an expressive, stylistic touch.
-
- Hair: Add the quirky hairstyles associated with anime. Practice varying up your lines for spiky hair or flowing locks.
-
- Clothing: Outline the shape of the clothing, following the character’s movement and posture.
Step 3: Refining Your Lines
With the basic framework and features in place, you can now refine your drawing:
-
- Clean Up: Use your eraser to remove any unnecessary guidelines, being cautious with the shapes you want to maintain.
-
- Detailing: Add more details to the hair, clothing, and facial features. Express emotions through facial expressions—larger eyes often convey excitement, while drooping edges can indicate sadness.
Step 4: Inking
If you are aiming for a polished look, inking is a critical step in learning how to draw an anime character step by step. Here’s how to do it properly:
-
- Select the Right Pen: Use a fine liner for sharp lines or a brush pen for a more dynamic look.
-
- Ink Carefully: Trace over your pencil lines, adding thickness where necessary to bring depth—to the outline and interior areas, like hair strands.
-
- Let It Dry: Allow your ink to dry completely before you erase your pencil sketches beneath.
Step 5: Coloring Your Character
Coloring your anime character can significantly enhance its appearance. You can choose between traditional and digital methods:
-
- Traditional Coloring: Use markers, colored pencils, or watercolor paints. Layer your colors to create depth.
-
- Digital Coloring: Use software to color your character. Utilize layers to separate base colors from shading and highlights for a clean finish.
Step 6: Adding Details and Effects
To complete your piece, you can add special effects and background elements:
-
- Shading: Use a darker version of your base color to create shadows. Consider the light source; where the light hits, add highlights.
-
- Background: Create a simple background that complements the character, like a detailed landscape or a subtle gradient.
-
- Finishing Touches: Add any final details, such as sparkles or textures to clothing, to bring your character to life.
Tips for Improvements and Practice
Consistent Practice
The most effective way to master how to draw an anime character step by step is to practice regularly. Here are a few methods to enhance your skills:
-
- Daily Sketches: Dedicate time each day to practice drawing different characters or poses.
-
- Referencing: Use reference images from anime to study and replicate various poses and expressions.
-
- Art Challenges: Participate in online art challenges that push you to create new characters or styles.
Learning from Others
Consider the following resources:
-
- Online Courses: Platforms like Skillshare offer structured courses for learning anime drawing.
-
- YouTube Tutorials: Many artists share their techniques and tips through tutorials.
Engaging with the community and seeking feedback can help refine your skills and inspire new ideas.
Conclusion
learning how to draw an anime character step by step involves a combination of understanding proportions, utilizing the right tools, and applying detailed techniques. Whether you’re crafting a cute chibi character or a fierce action hero, remember that practice is essential. Don’t hesitate to explore various styles, keep refining your skills, and most importantly, enjoy the artistic journey of creating unique anime characters.

